Setting Up A Pi-Zero Ethernet Gadget
After a hiatus of about two years I’m starting to get back in electronics and amateur radio, and have been working on an updated version of the Classie WSPR transceiver I wrote about previously. The most important part of the Classie was the controller, which was responsible for maintaining timing, transmit/receive switching, and sending out the WSPR message. So for an update it seemed logical to start here.
The original Classie controller was implemented using an Arduino Pro Micro and worked well, especially after an update that allowed for timing control from the WSPR software instead of depending on the crystal timing. But this time around I wanted something with a little more power. After some consideration, I decided to go with a Raspberry Pi Zero. I also decided to configure the Pi Zero as a Linux Ethernet gadget so I could log into it via SSH and update/develop the software directly on the hardware.
There are plenty of tutorials out there describing how to configure the Pi Zero as an Ethernet gadget and I normally avoid writing about things that have been covered by others unless I have something new to offer. However, I ran into enough gotchas along the way I thought it might be useful to document my process for others who might have similar problems.
Getting Started
To start, I’m going to assume you have an SD card with a recent installation of Raspbian. Also, I’m working on an Ubuntu 16.04 system so these directions are written from that perspective. There are other tutorials that will explain the steps requried to get started on a Windows or Mac system.
Loading the Ethernet Module and Enabling SSH
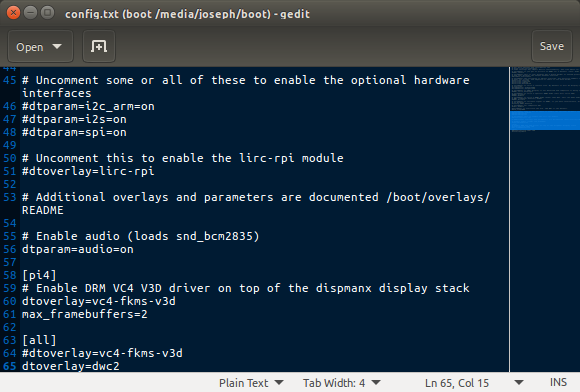
Start by inserting the SD card into your laptop/desktop. Navigate to the boot partition on the SD card, open the config.txt file, and add the line
dtoverlay=dwc2
to the end. Save the file.
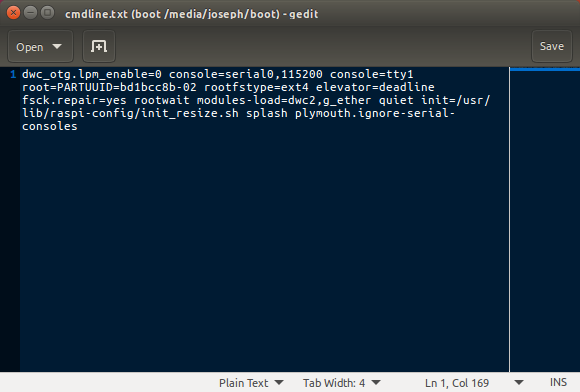
Then open the file cmdline.txt. Add
modules-load=dwc2,g_ether
after rootwait and save the file. This entire file should remain a single line, even if it wraps on your screen.
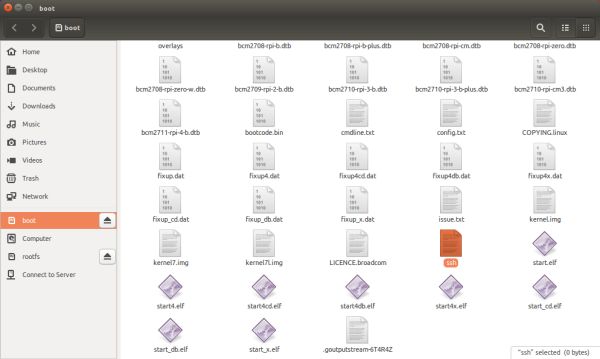
Finally, create an empty file named ssh (no extension) in the same folder as the config.txt and cmdline.txt files. This will enable SSH when the Raspberry Pi is booted.
Configuring the Network Interface
At this point, a lot of tutorials say to remove the SD card from your computer, use it to boot the Raspberry Pi Zero, and log in via SSH using the name raspberrypi.local. However, that didn’t work for me. I could see the created network interface using the ifconfig command but couldn’t log into the Raspberry Pi. So I decided to set a static IP address.
With the SD card still mounted on your computer, open the file /etc/network/interfaces in a text editor as root, and add the lines:
allow-hotplug usb0

iface usb0 inet static
        address 10.42.0.2
        netmask 255.255.255.0
        network 10.42.0.0
        broadcast 10.42.0.255
        gateway 10.42.0.1
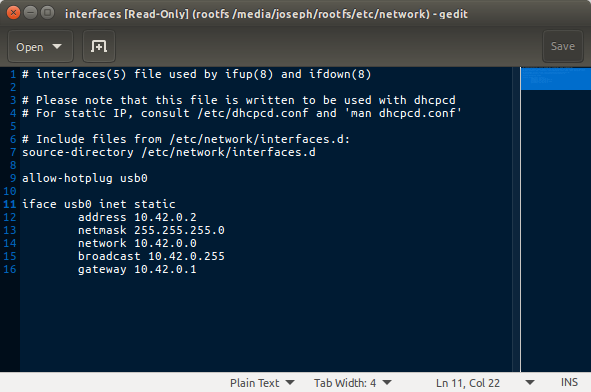
This assigns a static IP address of 10.42.0.2 and I’ll explain below why I chose that subnet rather than the 192.168.X.X subnet normally seen.
But once I set the static IP address I ran into another problem/annoyance. In order to connect to the Raspberry Pi using the network interface created on my laptop I had to configure it through Network Manager. This would be fine for a single network interface but every time I reset the Raspberry Pi a new network interface was created and I had to repeat the process.
After some research, I finally understood this is because the g_ether module assigns a random MAC address to itself every time it starts. To fix this, navigate to the /etc/modprobe.d folder on the Raspberry Pi. Open a file named g_ether.conf, enter the line
options g_ether host_addr=32:70:05:18:ff:78 dev_addr=32:70:05:18:ff:79
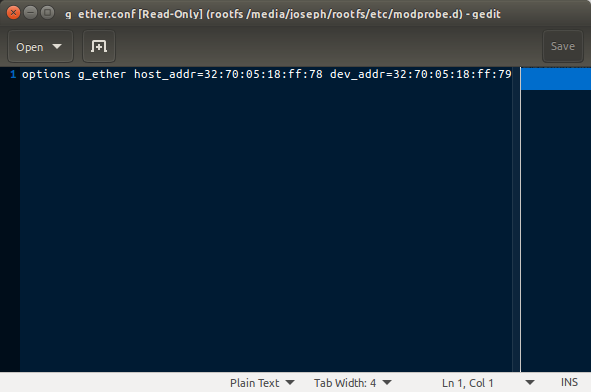
and save the file. The host_addr option is the MAC address assigned to the network interface created on your system, the dev_addr option is the MAC address assigned to the network interface on the Raspberry Pi. Now when you boot and connect to the Raspberry Pi you’ll have the same MAC addresses each time. You’ll still have to configure the network interface the first time but it will just work after that.
But What About Connecting to the Internet?
You may have noticed I’ve said nothing about configuring WiFi. That’s because the project I have in mind will connect directly to my laptop. So, instead of bothering with WiFi, I decided to share the network connection on my Linux system.
To do this, open the Network Manager and select the connection being used to connect with the Raspberry Pi.
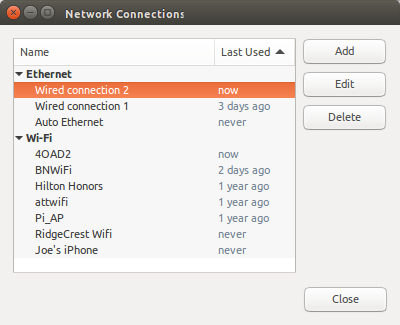
Click Edit to open the editing window and select the IPv4 Settings tab. Click the Method dropdown, choose Shared to other computers, and click Save.
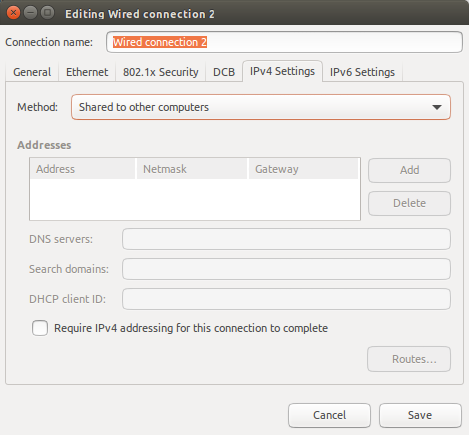
This will configure the network interface created when connected to the Raspberry Pi as a gateway with the IP address 10.42.0.1. When you log into the Raspberry Pi you’ll be able to access the internet through this gateway with no need for WiFi.
And this is why the static IP address assigned to the Raspberry Pi above was set in the 10.42.0.X subnet; so when the gateway was configured the two would be on the same subnet. You can even access the Raspberry Pi using the name raspberrypi.local instead of the IP address if you wish.
- Posted in: Uncategorized
- Tagged: Linux

1 Comment
Trackbacks